If you’re feeling stumped over finding new interesting and fun toys for your exotic pet or annoyed at the price tag for toys sold in the pet store that are destroyed in a matter of days (or hours), we’ve got a solution for you. I bet you’ve got a bunch of these cardboard rolls in your house, right? They easily pile up from all of the toilet paper and paper towels an average family goes through. And we just think of them as trash (or recycling) and we toss them away without another thought. Well, soon you’re going to think of them as inexpensive toy parts that are going to greats chews and shredders your pet will absolutely love. These DIY toilet paper roll toys are ingenious.
These toys can be made from paper towel or toilet paper rolls. They are cheap and easy to make since the cardboard tubes are basically free and you can usually assemble them with materials around the house and a few pet-safe treats and foods.
The toilet paper roll toys on this page are generally safe for rabbits, chinchillas, guinea pigs, hamsters, and gerbils. Note: Before you make these toys and give them to your pet, make sure it is safe to give your exotic pet cardboard and that any other materials you use are safe for your pet. You can use our section on safe wood and materials for exotic pets as a guide. What may be safe for one type of pet could be toxic and deadly for another.
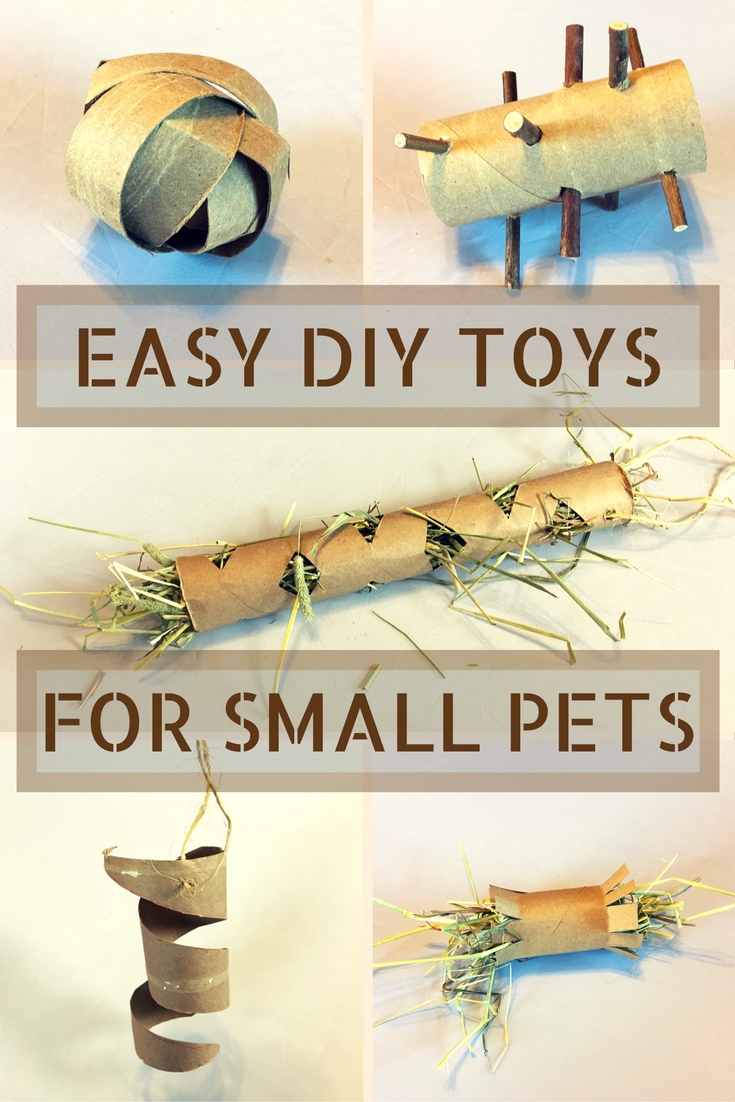
DIY Toilet Paper Roll Toys
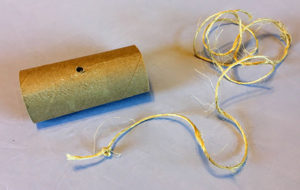
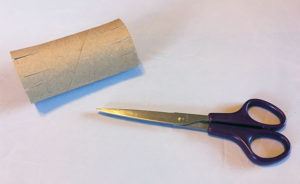
Hanging Twirly
Supplies Needed:
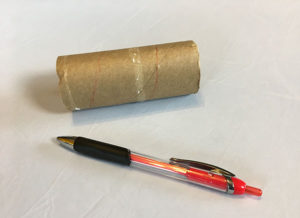
- Toilet Paper or Paper Towel Tube, clean of adhesive
- Scissors
- Twine or String (safe for your pet)
- Optional: Pen or Pencil
This is one of the most basic hanging toys you can make small pets as it only requires a card board tube, string, and scissors. Children can even make this easy toy. This toy is appropriate for any small pet that can safely consume small amounts of cardboard.
Step 1 (optional): Using a pen or pencil draw a spiral design on the outside of the tube. There should be about 1-2 inches of space between the line.
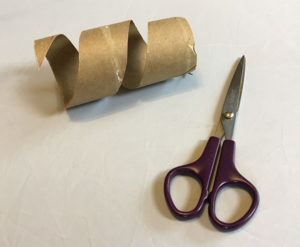
Step 2: Cut along the line until you’ve cut through the entire tube.
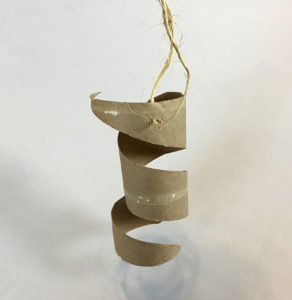
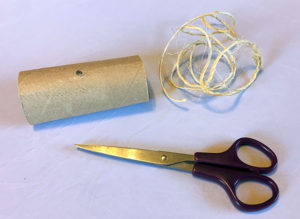
Step 3: Punch a hole in one end of the tube and tie the string through it. Hang in your pet’s cage.
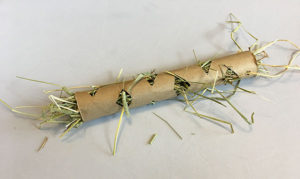
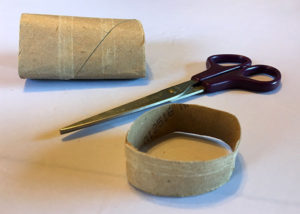
Cardboard Hay Tube
Supplies Needed:
- Toilet Paper or Paper Towel Tube, clean of adhesive
- Hay
- Optional: Scissors or another sharp tool
- Optional: Twine or String (safe for your pet)
This works well as a hanging tube inside the cage or a tossing toy in your pet’s playpen. It’s a favorite cardboard toy for guinea pigs and rabbits. This is also the easiest to make of all the toilet paper roll toys on this page. If you are planning on using it as a tossing toy you can skip the first three steps.
Step 1: Using your scissors or sharp tool, cut a hole in the middle of your tube big enough to pull your string through.
Step 2: Tie a thick knot at one end of your twine/string. We triple knotted it to get the desired thickness.
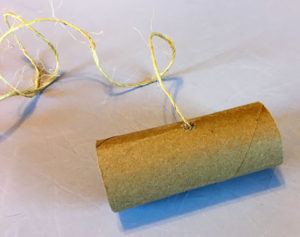
Step 3: Pull the string through from the inside until the knot is flush against the inside of the tube.
Step 4: Fill the tube with hay and hang in their cage or place in their play area.
Bonus: You can put a few pellets or treats inside to make it extra enticing, or even add twigs and chews made of safe wood.
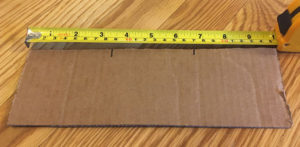
Fancy Hay Feeder Tube
Supplies Needed:
- Paper Towel Tube, clean of adhesive
- Hay
- Scissors or another sharp tool
- Twine or String (safe for your pet)
This is a great option for a free and creative way to feed your pet hay in their cage or play area. Creating several holes for them to eat hay out of helps stimulate them and make food time more interesting to bust boredom.
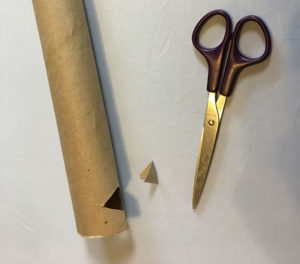
Step 1: Using the scissors, cut diamond shapes by making a triangle shaped snip. Each cut should be about half an inch. You will have to flatten the tube slightly to do this. Continue in an alternating pattern along the length of the tube.
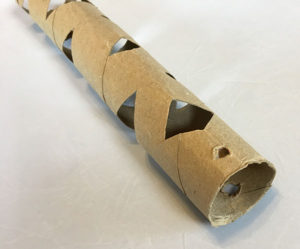
Step 2: On one end of the tube, poke 2 holes, each on opposite sides. The string will go through them to create a hanging loop.
Step 3: Fill the tube with hay
Step 4: Use string or twine to create a hanging loop through your holes. Hang in your pet’s cage or playpen.
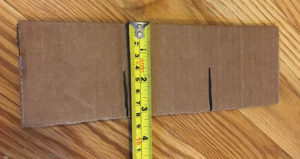
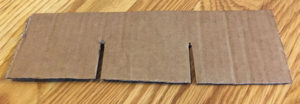
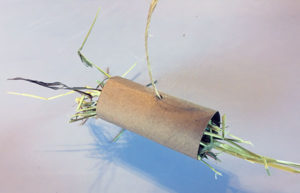
Firecracker
Supplies Needed:
- Toilet Paper or Paper Towel Tube, clean of adhesive
- Scissors
- Hay
- Optional: String/Twine (safe for you pet)
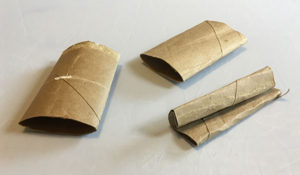
This works great as a floor toy, especially for rabbits who like to grab the edges and throw them around. You can also make it as a hanging toy by following steps 1-3 on the previous project before you put the hay in.
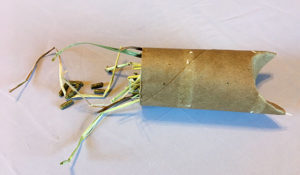
Step 1: With your scissors cut notches of varying thickness on each end of the tube. If you’re using a toilet paper roll, your notches should be about 1/2 – 1″ long. If you’re using a paper towel roll you can make them longer.
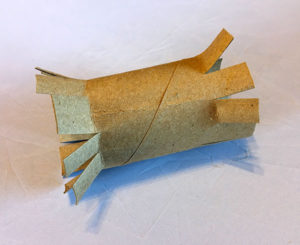
Step 2: Bend the flaps to different degrees to create varied edges.
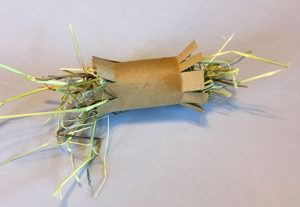
Step 3: Fill the roll with hay. Place in their play area or cage.
Bonus: You can add a few pellets or treats inside to make it extra enticing or even stick in a few twigs made of safe wood.
Cardboard Pellet and Treat Ball
Supplies Needed:
- Toilet Paper Tube, clean of adhesive
- Scissors
- Pellets or Treats
This is a great floor toy that helps stimulate your pet by giving them a goal and something to destroy to get to the treats or food inside. It’s also super easy to make as you need one toilet paper tube to make one ball.
Step 1: Cut the roll into ~1/2 strips. You should end up with six or seven “hoops”
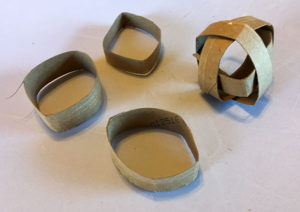
Step 2: Take a hoop and slide it inside one of the other hoops. Do this with 3 or 4 hoops until you have the basic shape of a ball.
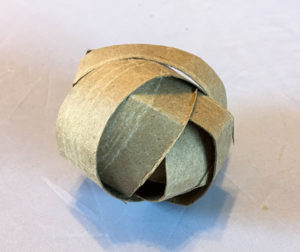
Step 3: Add a tasty treat or pellets to the inside of the ball. Complete the shape of the ball by adding the rest of the hoops and give it to your pet.
Easy Shredder Tube
Supplies Needed:
- Toilet Paper or Paper Towel Tube, clean of adhesive
- Hay
- Pellets
- Optional: Treats
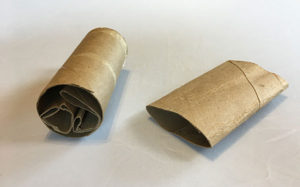
This is a quick and easy floor toy to make for your rabbit, chinchilla, or guinea pig that doesn’t even require scissors. This is a great option if you’re looking for a craft to do with young children.
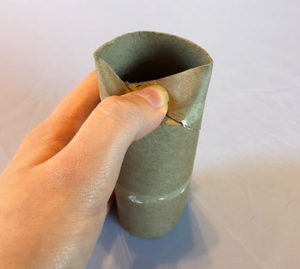
Step 1: Stand the toilet paper tube up and push the edge until it folds inward.
Step 2: Rotate the tube and press in the other side until it creates a closed edge.
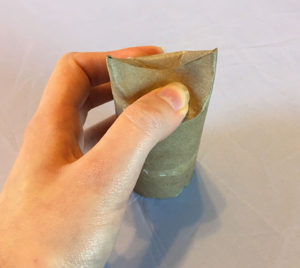
Step 3: Fill the open end with hay, pellets, or treats of your choosing. Make sure it all fits inside with enough room to close the other end.
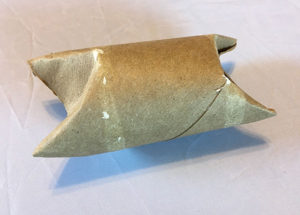
Step 4: Repeat steps 1 & 2 to close the other end. Give it to your pet and watch the fun ensue.
Ultimate Shredder Tube
Supplies Needed:
- 4 Toilet Paper Tubes, clean of adhesive
- Pellets or Treats
This shredder doesn’t require any scissors or cutting and makes a great floor toy for small pets.
Step 1: Take 3 of the tubes and flatten them lengthwise. Then fold or roll them into thirds.
Step 2: Insert the rolled tubes into the other tubes.
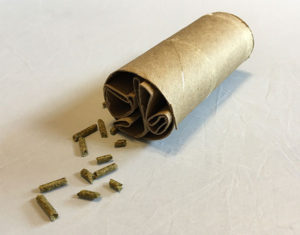
Step 3: Push treats and/or pellets into the folds. Give it to your pet and watch them destroy it!
Stick Roll
Supplies Needed:
- Toilet Paper or Paper Towel Tube, clean of adhesive
- Sticks or Twigs (find a safe wood for your pet)
- Scissors or other sharp item for making holes
- Optional: hay
This is a great floor toy, especially for rabbits and guinea pigs. The twigs give them lots of surfaces to pick up and toss the whole toy, and to chew on.
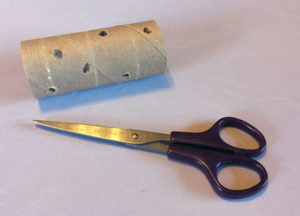
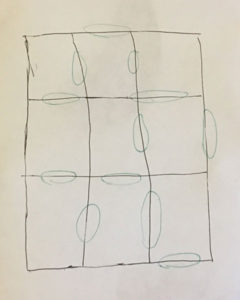
Step 1: Take your scissors and poke holes at varying points on all sides of the tube. Keep in mind that they need to be large enough to slide the sticks into and also align enough that you can stick one twig through 2 holes.
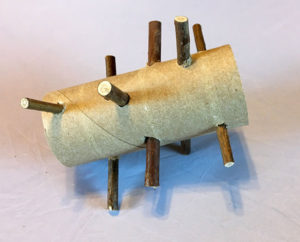
Step 2: Insert the sticks into the holes. You can also add sticks that protrude out of the top and the bottom of the toilet paper roll.
You can then place the toy in your pet’s cage or play area. Make it extra enticing by adding hay or pellets inside.
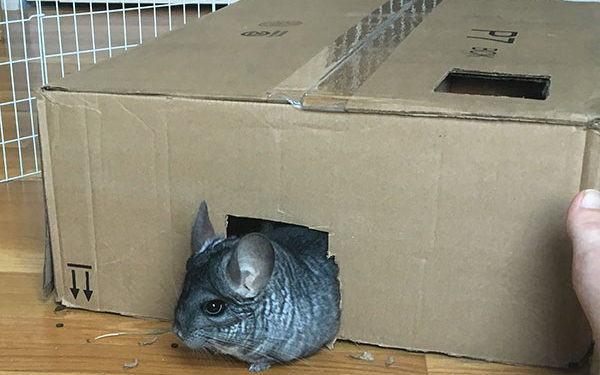
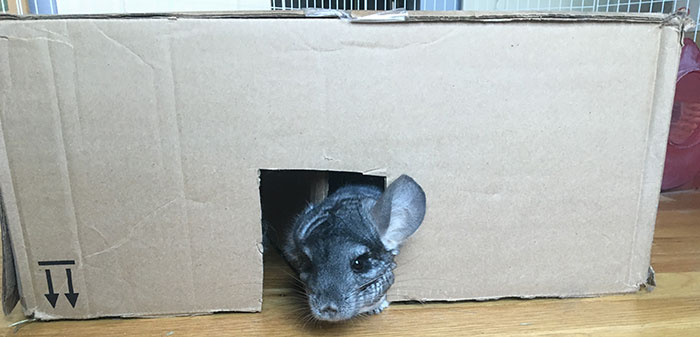
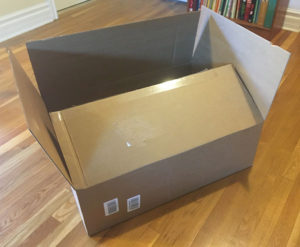
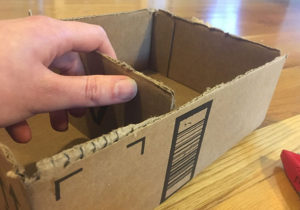
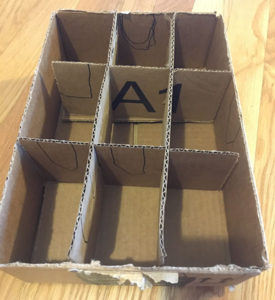
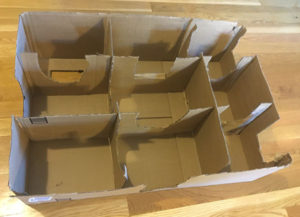
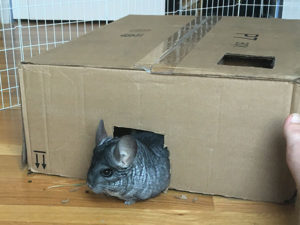
Still feeling crafty? Learn how to make a DIY cardboard maze for your exotic pet.