Degu Safe Wood

Safe Wood for Gerbils

Safe Wood for Gerbils
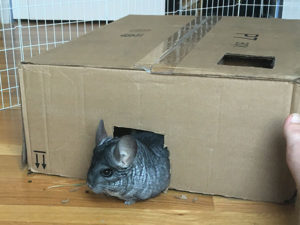
Gerbils, like many other small pets, love to chew. They actually need to chew, because they are rodents. Their teeth are always growing. Chewing is a natural behavior that helps wear down their teeth. If you have a new pet gerbil, you may have discovered this means they’re chewing on things you don’t want them to, like clothing, furniture, or even baseboards. You can’t train a gerbil not to chew. Instead, you need to provide safe alternatives in the form of toys and wood chews to keep them distracted. These toys also help to alleviate boredom and keep your pet gerbil happy.

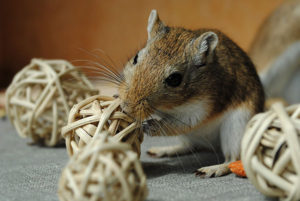
To help you shop for toys and chews for your pet, we’ve compiled these lists of safe wood and other materials that you can offer your gerbil. We’ve also made a list of woods and items to avoid that are toxic or dangerous for gerbils. Use this list as a reference when shopping for toys online or in pet stores. If you’re ever in doubt about whether a toy or wood is safe for your pet, it’s better to err on the side of caution and not give it to them.

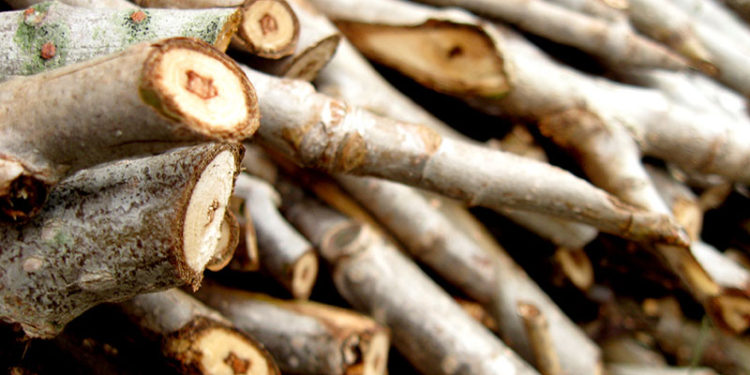
Safe Wood and Other Materials for Gerbils

Safe Wood for Gerbils

  • Acacia
  • Alderberry
  • Ash (no seeds)
  • Aspen
  • Bamboo
  • Birch (white, grey, broadleaf, silver, common are safe. All others are unsafe)
  • Cercis (redbud or spicewood)
  • Chinese Dogwood
  • Chinese Gooseberry
  • Dogwoods
  • Elm
  • Grape
  • Hawthorn
  • Hazelnut
  • Horse Apple
  • Kiwi
  • Larch
  • Limetree
  • Longan
  • Loquat
  • Lychee
  • Magnolia
  • Magnolia
  • Manzanita
  • Medlar
  • Mulberry
  • Oak
  • Pecan
  • Pine (kiln dried)
  • Poplar
  • Quince
  • Ribbonwood
  • Rowanberry
  • Sickle Bush
  • Sycamore
  • Willow


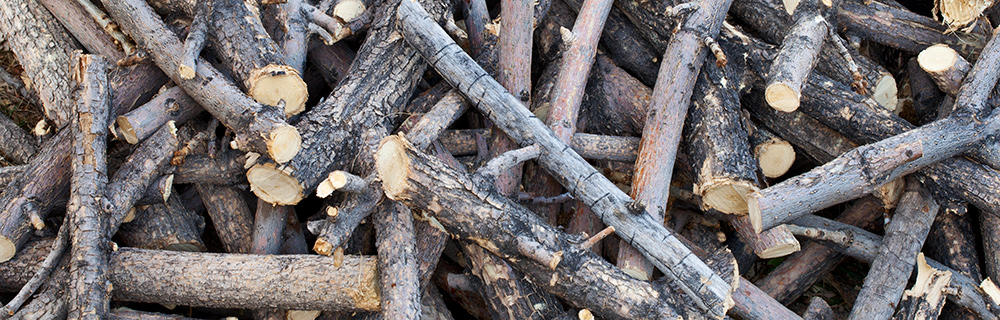
Toxic and Unsafe Wood for Gerbils

  • All Redwoods
  • Almond
  • Apricot
  • Black locust
  • Blackwood
  • Box Elder
  • Boxwood
  • Cashew
  • Cedar
  • Cherry
  • Cherry
  • Chestnut
  • Chinese Snake Tree
  • Clematis
  • Cypress
  • Ebony
  • Elderberry Bushes
  • Eucalyptus
  • Fir
  • Ginko
  • Grapefruit Wood
  • Greenheart
  • Hemlock
  • Hornbeam
  • Hydrangea
  • Iroko
  • Juniper
  • Katon
  • Laurel
  • Lemon Wood
  • Lime Wood
  • Mahogany
  • Man Made Wood (chipboard, plywood, block board, etc.)
  • Maple
  • Maple
  • Myrtle
  • Obeche
  • Orange Wood
  • Pine (fresh cut)
  • Plum
  • Poison Ivy
  • Pulasan
  • Rambutan
  • Ramin
  • Rhodedendron
  • Rosewood
  • Sandlewood
  • Satinwood
  • Sneezewood
  • Spruce
  • Tallow
  • Teak
  • Walnut
  • Wenge
  • Yew
DIY Cardboard Box Maze

Homemade DIY Cardboard Maze for Small Pets

Homemade DIY Cardboard Maze for Small Pets

Mazes are a fun way to give your exotic and small pets a way to exercise and stimulate their curiosity and their problem-solving skills. This is a fun project for kids and adults to do together and it’s extremely affordable as you should have most of the supplies in your home already. Once you’ve built the maze, you’ll enjoy watching your pet run through this DIY cardboard maze as they exercise and play. The types of exotic pets that enjoy cardboard mazes include rabbits, chinchillas, guinea pigs, rats, mice, hamsters, gerbils, and ferrets.

This tutorial covers all the steps you need to build a simple and cheap cardboard maze out of found materials. Once you have the right sized box, it just takes a little bit of time to assemble the maze.

How to Build a Cardboard Maze for Small Pets

Supplies Needed

  • Short square or rectangular box at least 2-3 inches taller than your pet
  • Scissors or a box cutter
  • A ruler
  • Pencil, pen, or marker

Steps

1. Find a box that is short (shallow) in a rectangular or square shape. An ideal box will be at least 2-3 inches taller than your pet and have flaps that are equal to or larger than the height of the box. The flaps will be the walls inside your maze. The box should be brown cardboard with no slick printing on it. Try to avoid boxes with lots of logos or ink that could be toxic to your pet.

DIY Cardboard Box Maze

Bonus: If you have multiple boxes that are the same size and a pet that likes to jump or climb (like chinchillas, rabbits, or rats), you can build a multi-level maze. Depending on the weight of your pet, you may need to reinforce the levels. You can also create multiple floor level mazes that are connected to each other by tunnels or long boxes. Feel free to get creative.

2. Remove any shipping labels, excess tape, and other non-cardboard materials. You should leave the tape that secures the bottom of the box.

3. Cut the flaps off the top of the box with a box cutter or scissors (a box cutter is usually easier for this step).


4. Measure the flaps against the size of the box and cut off any excess height. The flaps should be flush against the edge of the box when placed inside. You may have to cut a little off the length of the flap so it can fit inside the box easily.

DIY Cardboard Box Maze

5. Measure the length of your long flap and your short flap. Make marks on each dividing it into thirds. (Example: if your flap is 30 inches long, you will make a mark at 10 inches and 30 inches, creating three 10″ sections). On each mark, use your ruler to measure half the height of the flap and draw a line.

DIY Cardboard Box Maze

DIY Cardboard Box Maze

6. Cut a notch along that line to create two notches in each flap to the halfway point. You should make sure your notches align on the same size flaps. Assemble the pieces to form a shape like a pound sign or hash tag. Make additional cuts as needed so the flaps fit evenly.

DIY Cardboard Box Maze

DIY Cardboard Box Maze

7. Design your maze. On a piece of paper sketch out the grid shape of the maze and mark where you would like to cut doorways. Don’t forget to put doors on the outside edges. You can also put doors on the top of the maze as well.

DIY Cardboard Box Maze

8. Looking at your assembled maze, mark where you want to cut holes with a sharpie or pen.

DIY Cardboard Box Maze

9. Take the maze apart and cut doorways for each of the holes you marked. Make sure the doorways are large enough for your pet to pass through.

DIY Cardboard Box Maze

10. Reassemble your maze and flip it back over. Let your pet run through it. Hide treats inside for extra fun.

DIY Cardboard Box Maze

Because none of the walls are affixed, you can easily “change up” your maze by moving around the walls inside. There are so many options for your exotic pet to enjoy this easy DIY cardboard maze.